The Importance of Leak Testing for Engine Hood Assemblies
The engine hood assembly is not only part of a vehicle's exterior structure but also serves critical functions such as sealing, dustproofing, waterproofing, heat insulation, and noise reduction. Poor sealing during manufacturing can lead to the following issues:
| Issue | Detailed Description |
|---|---|
| Moisture Ingress | Rainwater, mud, car wash water, etc., can enter the engine compartment through poorly sealed areas, causing moisture damage, corrosion, or short circuits in electronic components. |
| Engine Performance Degradation | If the intake system draws in water or dusty air, it can severely impact engine lifespan and efficiency. |
| Reduced Customer Satisfaction | Sealing defects may also lead to increased wind noise, heat leakage, or unpleasant odors in the cabin, negatively affecting user experience. |
| Impact on Vehicle NVH Performance and Protection Rating | Especially for premium models, the sealing integrity of the engine hood directly affects vehicle certification standards (e.g., IP rating, NVH, thermal simulation verification). |
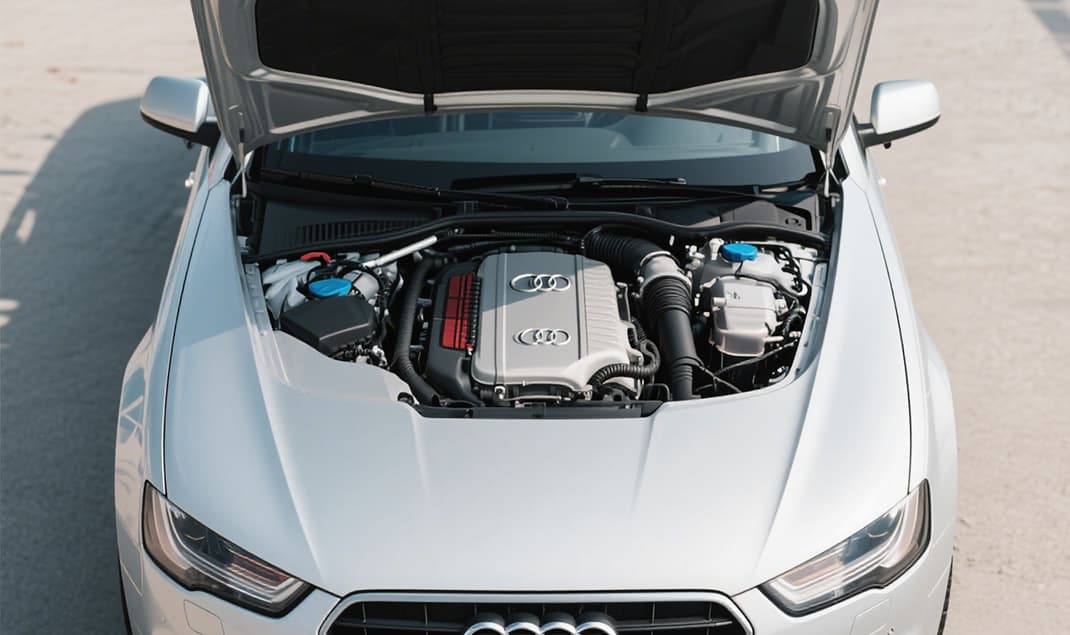
In 2022, a joint-venture automaker discovered frequent water ingress issues in the engine compartments of a batch of mid-size SUVs. Post-sales feedback revealed that the sealing strips along the edges of the engine hood were not fully adhered, allowing rainwater to seep into the electronic control unit area, causing widespread wiring harness corrosion and startup failures. Subsequently, the manufacturer implemented a full leakage testing line to conduct 100% sealing tests on engine hood assemblies before shipment, effectively improving product quality and significantly reducing warranty claims.
Since engine hood assemblies are large structural components, leak testing primarily focuses on the sealing gasket areas and peripheral sealing strips. The following methods can be used:
| Method No. | Method Name | Detailed Description |
|---|---|---|
| 1 | Differential Pressure Method (Pressure Decay) |
Assemble the engine hood with a simulated front body panel to form an enclosed space. After pressurization, measure pressure changes; suitable for mass production testing. |
| 2 | Mass Flow Method |
Precisely measures gas leakage rates from sealing gaskets and strips, often used for sampling or process validation. |
| 3 | Smoke Visualization / Bubble Test |
Applicable during sealing process development. Uses visible smoke or water immersion to identify leak locations, suitable for analyzing structural defects in prototypes. Not recommended for mass production testing. |
Testing Procedure (Using Differential Pressure Method as an Example)
| Step No. | Specific Steps |
|---|---|
| 1 | Fixture Positioning: Mount the engine hood onto a dedicated test fixture, simulating its assembly with the front body panel or heat shield. |
| 2 | Sealing Setup: The fixture forms an enclosed space, compressing sealing strips for leak testing. |
| 3 | Pressurization: Inject compressed air or nitrogen into the test cavity (typical pressure: 2~10 kPa). |
| 4 | Pressure Stabilization: Maintain pressure for several seconds (e.g., 3~5 sec) to prevent fluctuations affecting readings. |
| 5 | Pressure Decay or Flow Measurement: Monitor pressure changes or gas leakage rates in the cavity. |
| 6 | Result Judgment: Compare with set standards (e.g., ≤0.3 kPa/min or ≤3 sccm) to automatically determine OK/NG. |
| 7 | Data Storage & Traceability: Automatically upload test results to a database, supporting MES system integration. |
Leak testing for engine hood assemblies is a critical process to enhance vehicle protection ratings, heat/noise insulation performance, and user experience. It is also a key step in ensuring the "functional integrity" of automotive exterior structural components.
Recommended Products
